
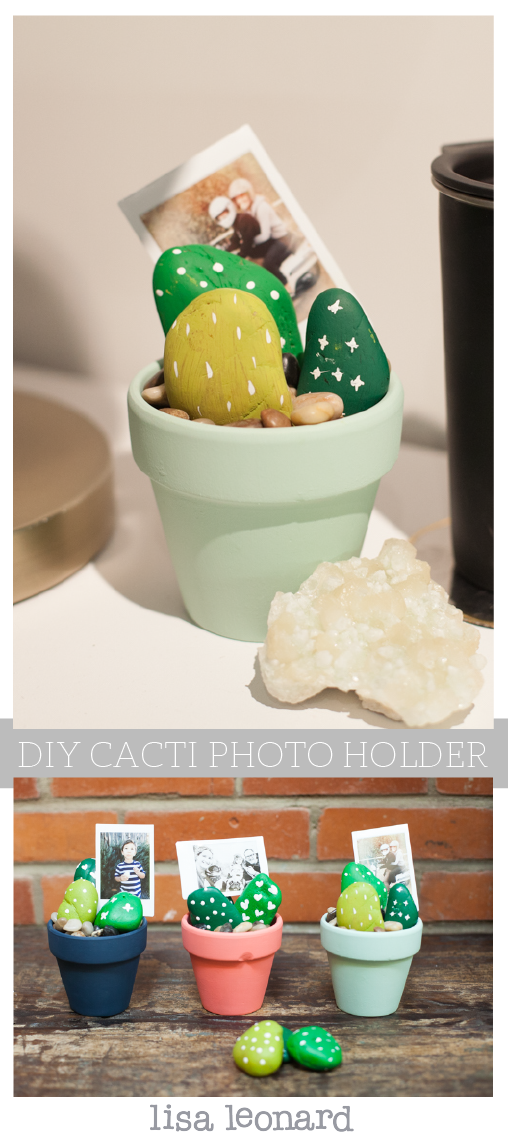
As you know I LOVE succulents. And I love a DIY. So today is a happy day! This project combines the two–awesome. It’s spring–the sun is shining and things are green. We thought it would be fun to bring some of that green inside and give our desks a bit of a color in a creative way! I saw this on Pinterest and thought it was adorable! So we decided to create something similar.
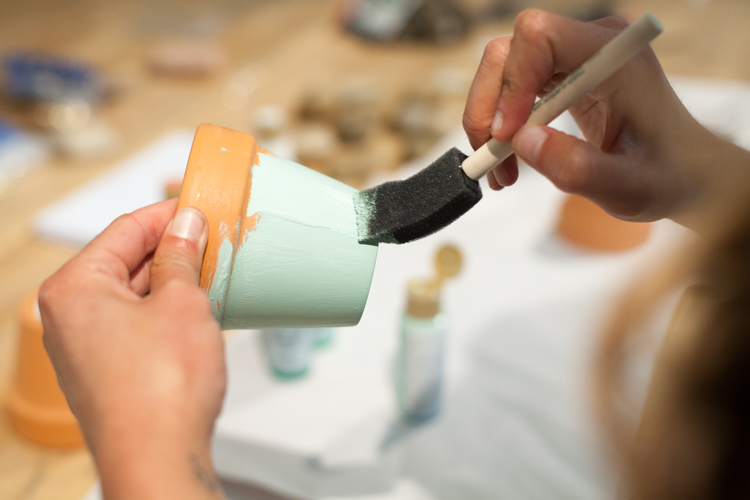
You’ll need: small terra-cotta pots, pebbles, small sized stones, shades of green paint, white paint, paint for the pots {whatever color you like!}, paintbrush, and photos.
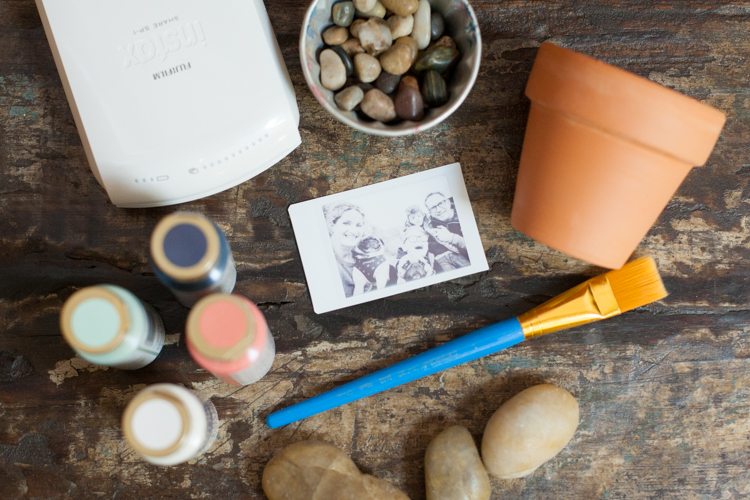
Using a few items found around the house, we were able to put something together!
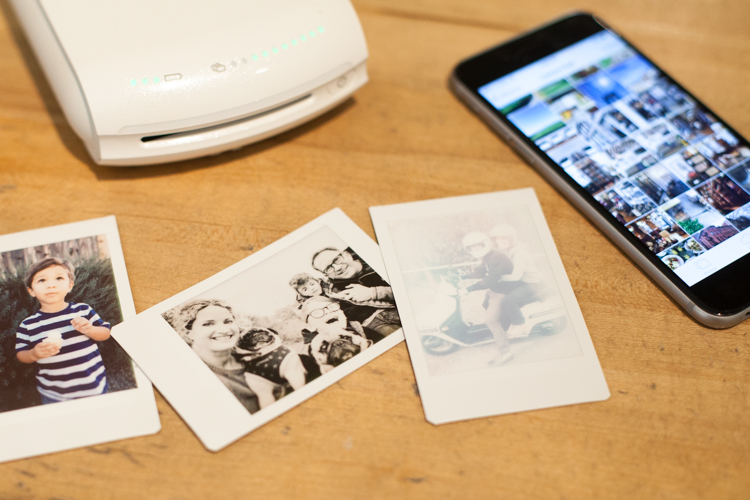
We used this awesome Instax printer that prints fun polaroid photos from a smartphone! (Found here) Such a great idea! If you don’t have an Instax printer, get some photos printed at Costco or put a fun postcard in your arrangement.
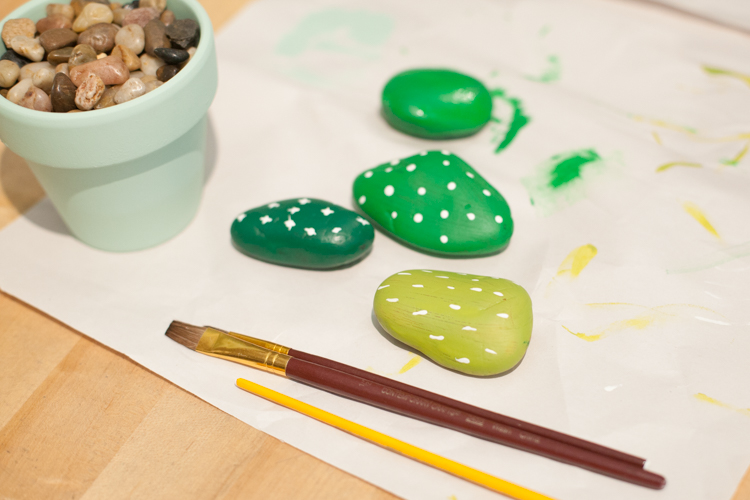
Simply add a little mess, a little paint, a little creativity! Smaller sized stones worked best for these min terra-cotta pots. Different shades of green make these little cacti more lifelike while still being whimsical!
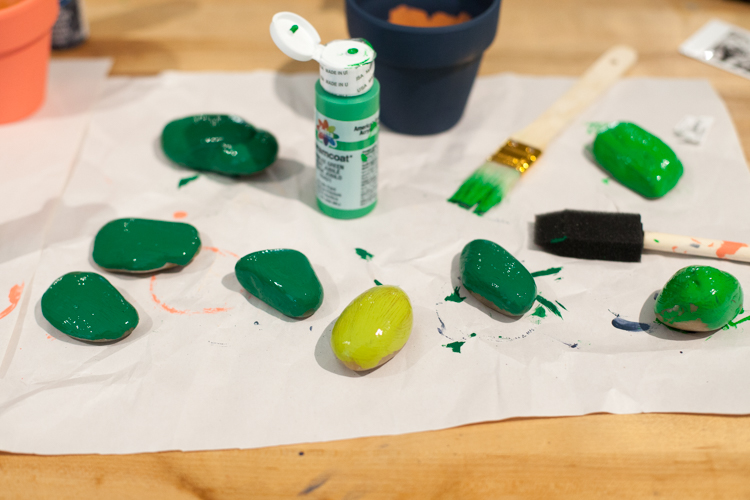
After letting them dry for a little while, we painted some little details in white paint, they don’t have to be realistic, that’s half the fun! We also found some smaller pebbles to fill the pots with, rather than using dirt, these also help for later when placing the photos!
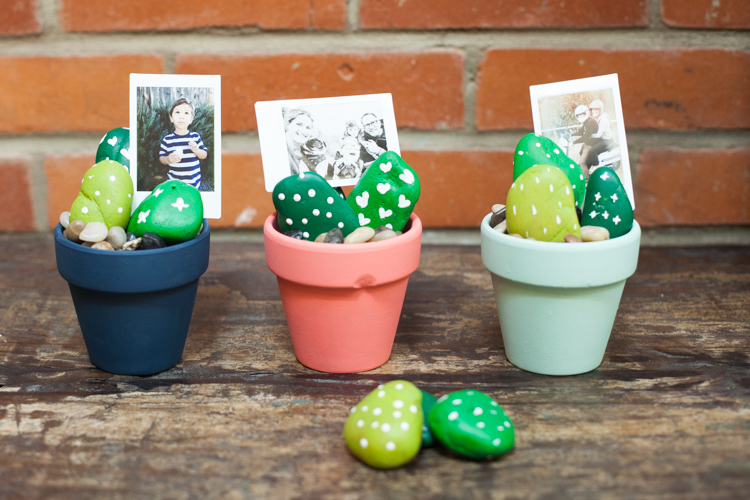
When everything’s all dry, simply assemble your little cacti! Have fun with trying different combinations of your ‘cacti’ and images! The fun thing is you can always add new images, or change the placement!
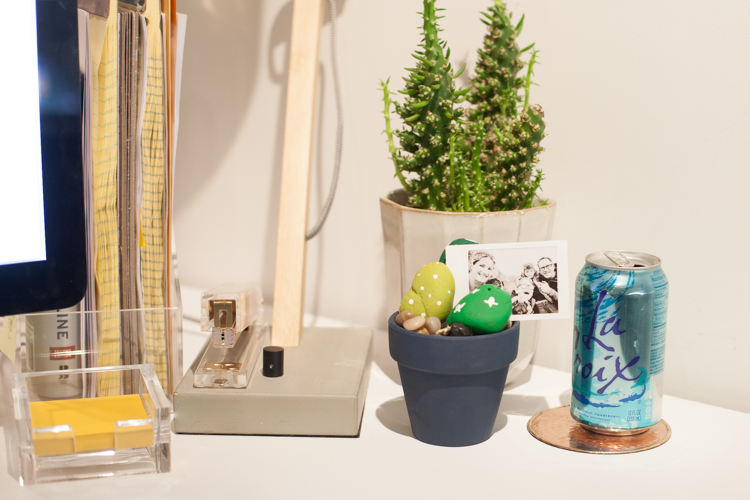
Such a fun and easy little DIY, but I love the splash of color it gives to my desk! This is a great little gift idea as well, especially with Mothers Day around the corner! And wouldn’t these make a perfect place setting when hosting a dinner?
Get the kids involved with simple little DIY. The whole project (excluding drying time) only took about 20-30mins!
Have fun!


Super fun and cute! Love it!